
Number 7 in the series uses a unique card technique to create more photo space using a pop-up photo album. I am SO excited to share this with you! I don't even want to wait until the end to show you. Here's a quick photo of what it will look like when we're finished.
 |
| Pop Up Photo Album on our Beach Wedding Layout |
Personalization Option #7: Pop Up Photos
I'm one of those people that takes hundreds of photos and it's difficult for me to narrow down which ones are my favorite, so I'm always a fan of ways to fit more photos on a page - especially without detracting from the design of the kit. This method adds SIX additional photos to each photo mat spot! I only used it on one of the photo mats, but, you could easily add one of these to each photo mat and seriously increase your photo possibilities!
As always, before we get there, let's look at this new release in it's original form.
 |
| Gosh, I love this layout! It looks just like a beach wedding! |
Here's what you'll need to create the pop out photos:
- cardstock cut into the following dimensions: 8" x 3 1/2", 9 1/2" x 3 1/2", and 10" x 4". I matched the gray color of the back mat on the layout.
- 18" ribbon or bakers twine
- adhesive
- ruler
- pencil
- optional: cardstock to create double mat look.
 |
| Items needed to create pop-out album |
We will need to take each cardstock piece and fold them before adhering them together.
First, we'll take the shortest rectangle (8" x 3 1/2") and follow the instructions below.
 |
| 1. Fold the cardstock lengthwise and crease. |
 |
| When you open it back up, it should look like this. |
 |
| 2. Unfold the cardstock and turn it so the crease runs vertically. Mark the paper 5.5 mm in from each of the corners. |
 |
| Your marks should look like this when completed |
 |
| 3. Using a ruler, line up opposite, diagonal marks, and draw a line connecting them. |
 |
| 4. Do the same the opposite way. |
 |
| 5. Either by sight, or using the ruler, fold along the diagonally drawn lines and crease. |
 |
| Repeat with the other diagonal line. |
 |
| Once the folds are complete, the cardstock should look like this. |
 |
| 6. Starting with one side, pinch the edges together following the fold that was created. |
 |
| 7. Bring the edges fully together and crease along the top. Repeat with the other side. |
 |
| Once both sides are folded in, the shape should look like this with the triangle on top on both sides. Set aside for now. |
 |
| 1. Take you medium rectangle, and fold in half crosswise. |
 |
| 2. Fold an additional time crosswise |
 |
| 3. Unfold to show 4 equal sized sections between the folds. |
 |
| 4. You'll need to reverse the folds to create a simple accordion that looks like this. It will need to be folded this way in order to tuck inside the folded section nicely. Set that aside with your first folded piece. |
Finally, take your longest rectangle (10" x 4") and proceed with the following:
 |
| 1. Flip your rectangle so that the short side is closest to you. |
 |
| 2. Fold in half crosswise the the fold at the top |
You've now completed all the folds, so it's time to start assembling!
 |
| Keep the longest rectangle and open it up. |
 |
1. Along the fold line, mark the center of the paper. Since this piece is 4" wide, the middle is at 2".   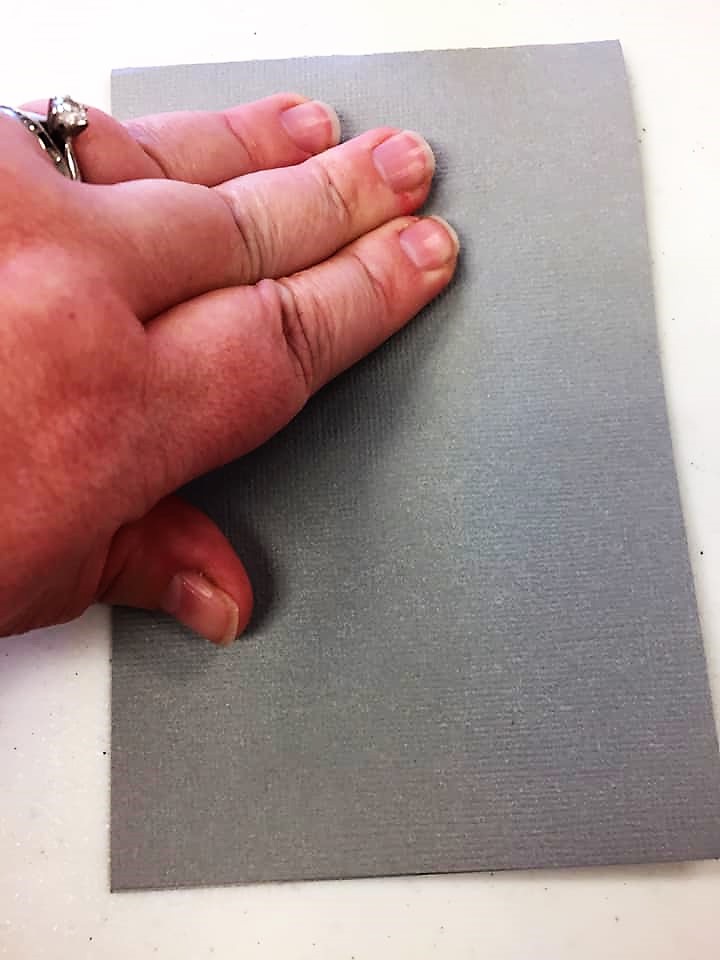 
When you open it up, it will look like this.
Once this is completed, we will add the final piece to our pop out album.

Before adhering, line up the center of the accordion piece with the marked center line on the original large rectangle piece. The outer pieces of the accordion will hang over the wide edges by design.

When the centers are lined up, take the furthest right flap and pull back to reveal the piece underneath.

With the flap bent back, place adhesive on the TOP half of the piece underneath. It's very important to only place adhesive on the top part and not on the entire piece. Then fold the flap back over and press down.

Once the right side is adhered, switch over to the left side and bend back the left-most flap.

With the left flap bent back, place adhesive on the BOTTOM half of the piece underneath. Again, it's very important to place adhesive on only the bottom half in order to fold correctly.

Press down the flap to adhere. When it's completed, the outer edges should be the only ones that are adhered. The center sections should not be adhered.

This is what it should look like when all is adhered.
Let's see what this will look like when it's in motion.

Folded down and flat.

Starting to open.

After putting together the basic shape, you can add cardstock to create a double matted look and ribbon to tie it all together. Here's how I did mine.
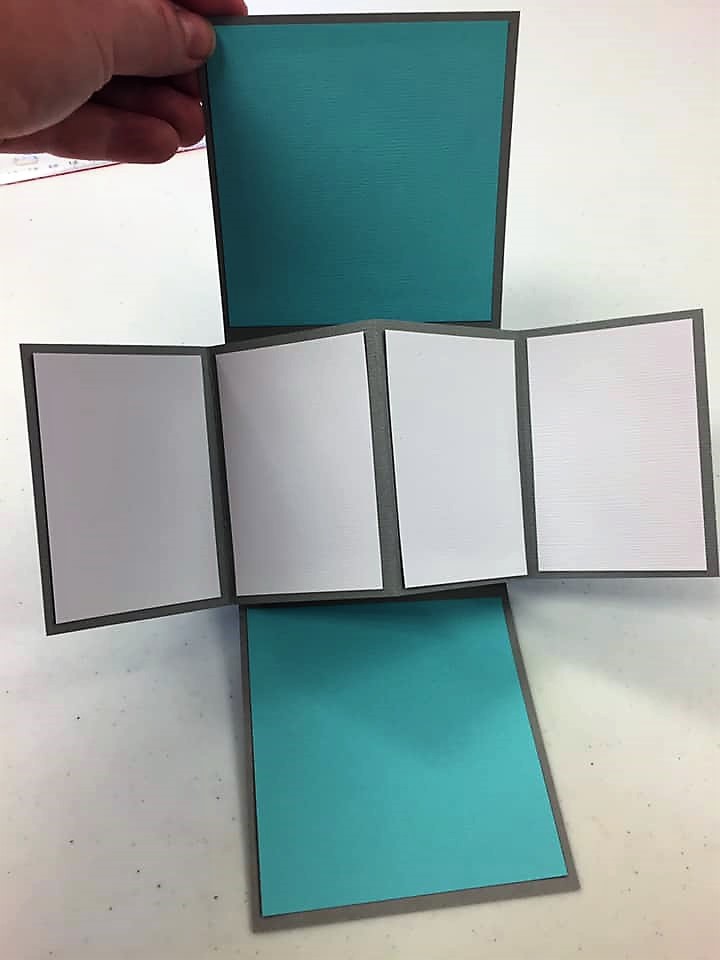
I used white to create the photo mats on the pop out portion and matched the blue to the layout to create two 4x4 photo mats on the top and bottom.

Once I added the photo mats on the inside, I used some bright pink ribbon to add a way to tie the top and bottom together. I also used a piece of white cardstock to create a double matted photo mat on the front of the pop out section.

Completed and tied.

Completed pop out album on the layout!
  
6 more photos on this pop out section as well as the original four!
 
I couldn't be more excited about this new layout and the pop out photos! What an excellent way to add additional photos or journaling without pulling away from the original design of the layout! I'd love to know what you think and if you think you might use this. I know this will be a staple in my layouts from here on out!
|
No comments:
Post a Comment