

If you're anything like me, when you sit down to scrapbook your photos, you've got way too many photos to choose from - and each one of them is great it their own way! It's so hard to narrow them down! Especially when they are photos from an important milestone or event. But, if this is your struggle, too, today's project can help!

Last Wednesday, we reposted a video from Troom Troom on our DML Facebook page that showed how to make an expandable mini-album with pockets as a travel journal. You can see it here. It used minimal product, was useful, and was super cute! And it got me thinking...could I use this idea in a scrapbook layout? Happily, the answer is YES! and I had the perfect kit to try it out on! I love the First/Last Day of School layout, but I definitely took more than just a couple photos on the first day of school. This mini album allowed me to use ALL of my photos! I didn't have to leave any out! Below, I've outlined the steps to make a simple, expandable, accordion-style mini album that you can display on its own or, as I did, add it to a scrapbook layout. I would recommend watching the short video to get a quick idea of how it works, and then come back here to follow the step by step and see how we used it in a layout. Happy Crafting!
Photo Expansion Pocket Mini Album
Items Needed:

- Blank Envelopes - the amount depends on the thickness of the album and number of photo mats you desire. I used 5 envelopes. I also had one additional envelope to use as a tracing pattern.
- Thin cardboard or similarly structured material. You will need two pieces the same size of your envelopes. For example, if you have 4 x 6 envelopes, you will need two pieces of thin cardboard size 4 x 6 each.
- Pattern Paper. You will need two pieces, each slightly larger than your envelopes. I used less than one 12 x 12.
- One 4 x 6 cardstock - Choose your color to match your pattern paper.
- About 24" string, ribbon, twine, or other desired material to tie album closed.
- Your choice of adhesive.
Instructions:

The first step is to assemble the envelopes to create the accordion of photo mats and pockets. Take your envelopes and lay them on your work space facing the same direction with flaps up. This will help you line them up correctly when you adhere them.

Take your first envelope and line your adhesive around the flap of the envelope. Do not put any adhesive on the pocket side of the envelope.
 |
| Bring second envelope over the flap with adhesive |
 |
| Line bottom of the envelope up with natural crease |
 |
| This is how the two adhered envelopes should look. The bottom envelope is the original envelope with adhesive on the envelope flap. It is now adhered to the bottom of envelope number 2. |
 |
| Back view of the two adhered envelopes |
Next, take the bottom of an additional envelope (still flap side on bottom - the same position as the first envelope) and line it up with the bottom line of the flap of the first envelope. You should have one long rectangle after adhering that bends naturally at the original flap fold. Press down to adhere tightly.

Repeat these steps to adhere all remaining envelopes. Then, fold back and forth in an accordion style. Set aside for a moment.


Take your pattern paper and line the cardboard piece up, making sure you capture what you'd like to see on the front. For example, my pattern paper was lined, so I made sure the lines were straight and that they lined up nicely on the top and bottom of the cardboard. Once it is lined up, cut out your pattern piece leaving an additional half inch around each side. This extra half inch will be folded around the back to adhere.


Flip the paper over and place the cardboard in the center. Then, fold each side over, creasing the pattern paper along the edges.
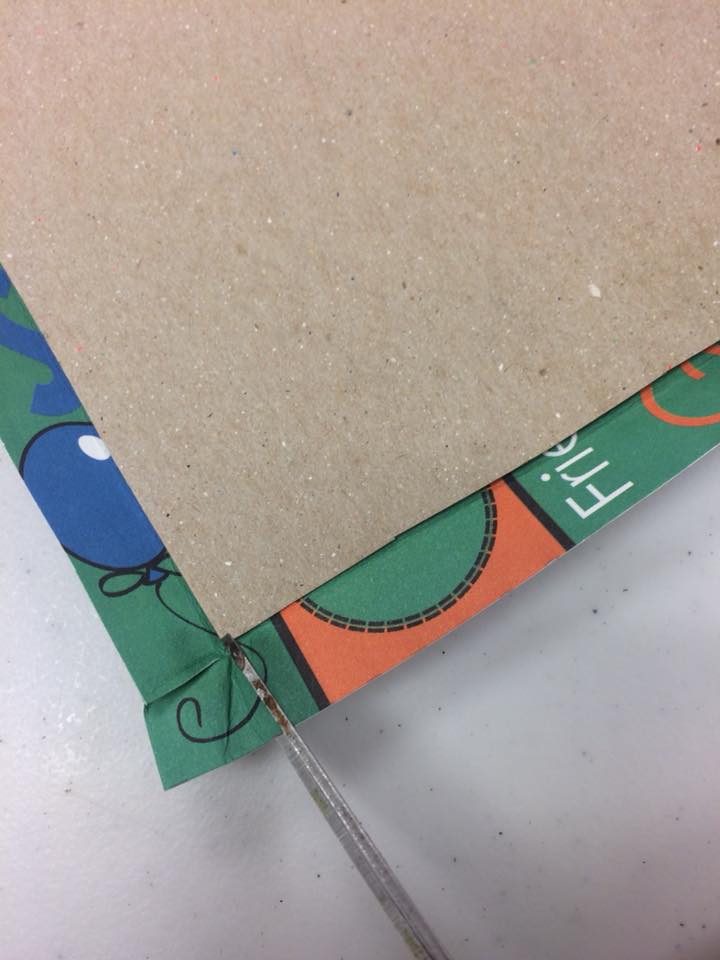
Next, cut the corners out of the pattern paper following the creased lines you made by folding them. This will allow the paper to lay nicely against the back when you adhere it.


Finally, glue down each side.

Here's what it looks like when it's finished. Repeat these steps with your second piece of cardboard.

Next we will complete the inside of the front and back panels. First, determine which panel you would like to be in front and which to be in back. Take your front panel, and with the inside facing up (the side with the cardboard peeking through), adhere a piece of cardstock to the center to cover the cardboard. The size of the cardstock will be determined by your envelope size. My envelopes were 5 x 7, so I was able to use the 4 x 6 photo mat that was included in the First/Last Day of School Scrapbook Kit.

For the back panel, take your string/ribbon and cut it in half. Adhere one half of the string about halfway down on the left hand side and the other half of the string about halfway down on the right hand side. You do not have to place cardstock over this
panel. We will cover this in our next steps.


To add the accordion envelopes, we will start with the back panel. Lay the back panel with the cardboard middle facing up and the strings spread outwards. Line it up to keep the envelope with the unglued flap on top of the stack (like the first photo). Then place adhesive on the inside of the back panel, adhere directly to the address-side of the last envelope in the stack, and press down to adhere. When you open the accordion, the last page (adhered to the back panel) will look like the second photo.


To adhere the front panel, place adhesive on the top envelope flap only. Do not put adhesive on the pocket part of the envelope. Then adhere the flap to the cardstock on the inside of the front panel.


Your album is now assembled! Here are a few photos of what it should look like when completed.


Now you can adhere your photos to the address-side of the envelopes and use the pockets to place keepsakes or extra photos! I placed my photos in, adhered some die cuts to the front to give it an additional interesting visual effect and then added it to my layout. Look how cute it turned out!
 |
Mini Album assembled and closed on layout. |
 |
| Mini album expanded on layout |
We love the millions of possible uses for this mini accordion album. What a great way to add extra photos to your layouts - or even to keep as a separate mini album. And the pockets! So handy! We'd love to hear how you plan on using this idea. Drop a comment or a photo of your project! Happy crafting!
No comments:
Post a Comment