If you're just joining us you might be wondering why 13? Down Memory Lane turns 13 this year and we're finding lots of ways to celebrate. Along with weekly and monthly deals throughout the month of January (check them out on our Facebook page!), we're releasing 13 brand new page kits and doing a blog series on 13 ways to personalize them - 1 post for each of the years we've been blessed to be a part of your memory keeping.
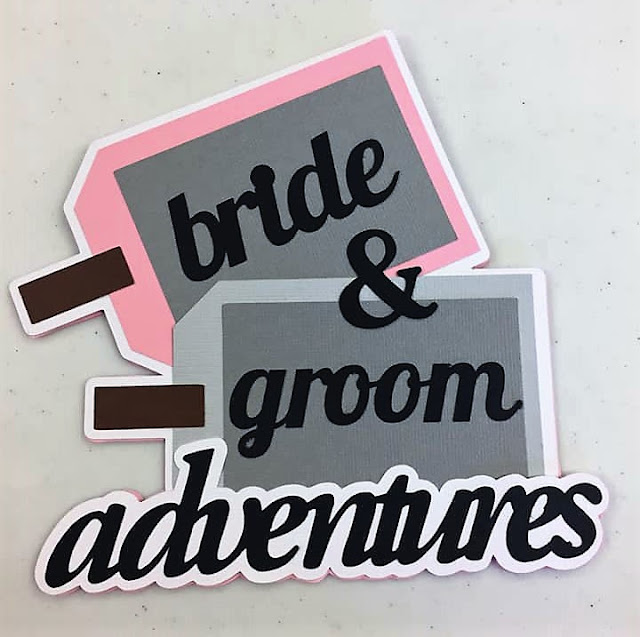
I had a tough time coming up with a great name for number 8, but it's still awesome! The best I can do it: Secret Flip-Up Space. It's utilizing space beneath large die cuts or photo mats on your layout to create journaling or extra photo space. Our newest page kit, Bride & Groom Adventures seemed like the perfect page kit to showcase this option.
Personalization Option #8: Secret Flip-Up Space
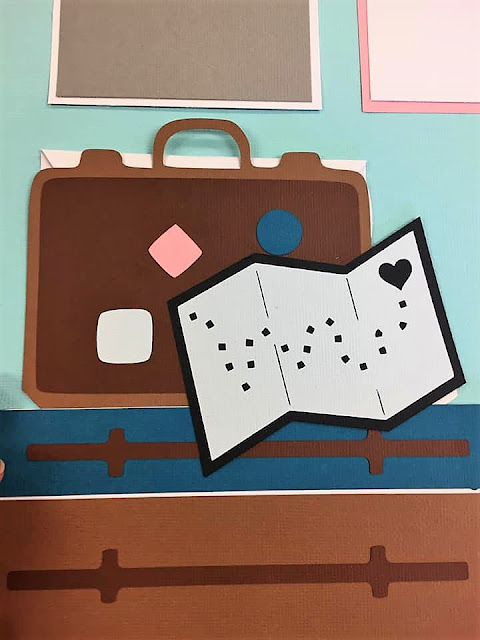
Before we start the transformation process, let's take a look at the original page kit and talk about why I thought this page kit would be perfect for this option.
 |
| Original Bride & Groom Adventures Layout |
 |
| Bride and Groom Adventures layout with added Secret Flip-Up Space |
The first thing we're going to do is assemble the die cuts so we have the cutouts exactly the way they will be on the page. Once you've selected and assembled them, place them on your desired cardstock and trace them with a pencil. Make sure you have the side you want to see to be face up when tracing. I only had textured cardstock and I knew I wanted to use this as journaling space, so I made sure the smooth side was facing up so it'd be easier to write on.
 |
| Trace you die cuts lightly with a pencil. |
 |
| You can see the outline of the traced set. |
 |
| Traced piece cut out and flap attached to top to create a hinge |
Once you have it lined up, carefully fold the top flap over top of the die cut to create a crease along the top. Be sure to keep the die cut securely in place so it doesn't shift while you are folding.
Remove the die cut and crease the top flap completely. You can trim it down to your desired size and place glue on the top to adhere to the die cut.
Place the die cut back on top with the glued section pressed down. Your back piece should now be completely hidden behind the die cut.
 |
| Title die cut with hidden space attached underneath. |
 |
| Hidden space! |
The easiest way to do this is to take a few small rolls of tape, and tape your die cuts to a piece of cardstock. Then, using a pencil, trace the die cuts. Cut the background out and then glue the die cuts to the background in the same way that you had taped them. It's simple and it takes just a couple of minutes to do. It will make creating the flap so much easier.
 |
| Die cuts adhered to the background I created. It makes them much easier to move around and attach. |
 |
| Trace your die cuts and cut out a hidden back piece. |
 |
| Next, create a flap and adhere to the back piece. Then, using the original piece as a guide, bend the top flap over and crease. Prepare to glue it to the top piece. |
You'll notice that since the top part where the is set is not flat, that there is extra cardstock that pokes out. Just simply take a small scissors and trim the excess cardstock. Since the flap is about 1/2"-1" long, it reaches far enough down the original die cut set to trim the tops and not harm the hinge section.
 |
| Untrimmed Hinge |
 |
| Trimmed Hinge |
I love this option because there are many times that I love the look of the original layout and don't want to disturb it, but I also want to add my own stuff. This option lets me do both! The original design of the layout is there when the die cuts are flipped down and I have my own special sections when I flip them up! It's the best of both worlds and all I needed was a little extra cardstock!
 |
| Flipped Down |
 |
| Flipped Up |
I'd love to know what you think and how you might use this option. Leave a comment here or on our Facebook page and let us know!


2 comments:
Great idea! Thanks for sharing, super cute layout too.
Thanks, Laura!
Post a Comment